
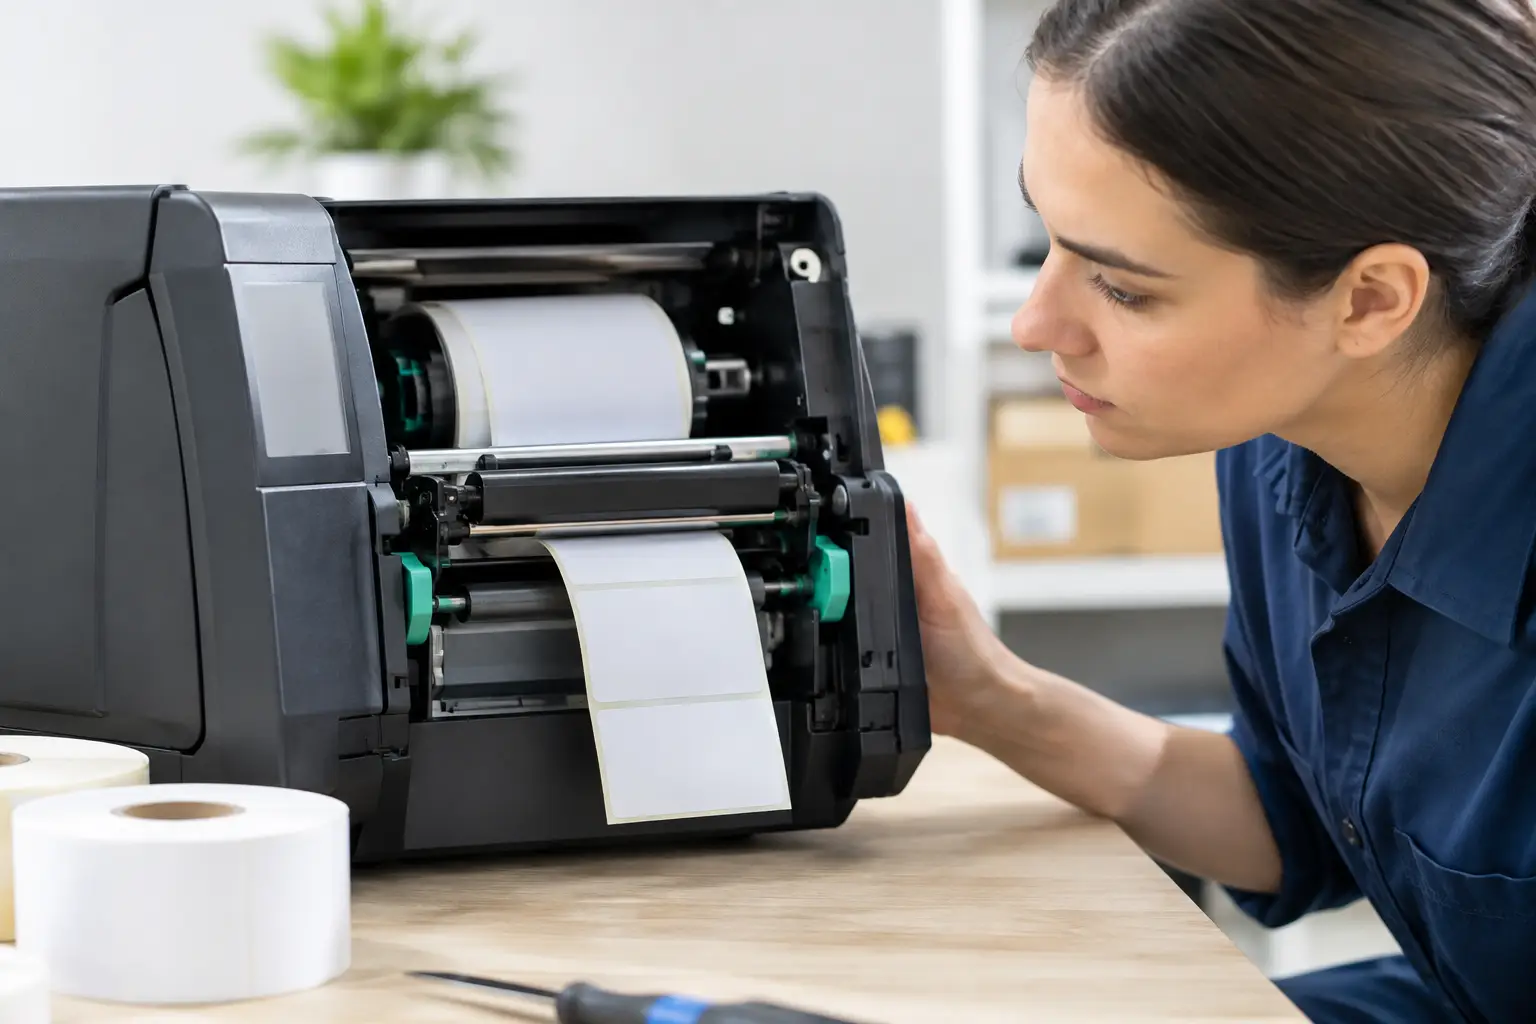
A label that starts neatly centred and gradually creeps off position can waste an entire roll before anyone notices. When you diagnose label printer misalignment methodically, you can usually separate a simple media-setting issue from a sensor, printhead or mechanical fault – and get stock labels, food labels and dispatch labels back into use quickly.
For a busy shop, café, kitchen or warehouse, this is more than a print-quality annoyance. Misaligned labels slow staff down, create unreadable barcodes, spoil presentation and can result in incorrect product, price or date information reaching customers. The best fix starts with identifying the pattern, rather than repeatedly recalibrating the printer and hoping for a different result.
Start by identifying the type of misalignment
Misalignment is not always the same fault. Look at three to five labels in sequence before changing any settings. A consistent error, where every label prints too high, too low, left or right by the same amount, normally points to label design, page dimensions or print-position settings.
If the print position changes gradually across a roll, the printer may be detecting the gap or black mark incorrectly. This is common after changing to a different label size, liner type or supplier. A label that is straight at the top but angles across the backing paper is usually a media-loading or guide adjustment problem, not a calibration issue.
It also helps to distinguish between the label moving and the image moving. If the printer feeds too far and leaves a blank label, it is likely missing the gap between labels. If it stops correctly at each label but the barcode is cut off, investigate the software template and print offsets first.
Common symptoms and what they suggest
A fixed top or side offset often comes from the label template being set to the wrong width, height or printable area. Skewed labels often indicate that the roll is not seated squarely, the guides are loose, or adhesive build-up is affecting the media path.
Blank labels between printed labels, printing over the gap, or content appearing on every second label usually suggests a media sensor setting or calibration problem. Faded sections, missing lines or inconsistent print across the width may look like alignment trouble, but are more likely related to a dirty or worn printhead, unsuitable heat settings or damaged media.
Check the labels before changing the printer
Many faults begin when a new roll is loaded. Even labels that look similar can differ in width, pitch, gap size, liner thickness, mark position and winding direction. A printer configured for a 50 mm x 25 mm direct thermal label will not reliably detect a 50 mm x 30 mm label simply because the roll fits in the compartment.
Confirm the actual label dimensions, including the gap between labels. Measure one label and one complete repeat from the start of one label to the start of the next. That repeat measurement, often called the pitch, is what the printer needs to feed accurately.
Check whether the labels use a gap, a notch, a black registration mark or continuous media. Desktop and industrial label printers use different sensor modes to identify these formats. Selecting gap sensing for black-mark labels, for example, can cause the printer to feed unpredictably.
The stock itself needs to be suitable for the printer and application. Direct thermal labels are common for short-life price tags, takeaway orders and courier labels. Thermal transfer labels use a ribbon and are generally better for labels exposed to heat, moisture, handling or longer storage. Loading thermal transfer media without the correct ribbon arrangement can affect print quality, though it will not usually cause a true feed misalignment.
Diagnose label printer misalignment in the settings
Once the roll is confirmed, compare the printer configuration with the label and the software that sends the job. There are often two sets of settings involved: the printer’s own media configuration and the settings in the POS, inventory, kitchen or shipping software. They must agree.
Start with the printer settings. Check media type, sensor mode, label width, label height or pitch, and the print method. Then review any top offset, left offset, tear-off position or feed adjustment. A small offset has a legitimate purpose when a label needs to sit precisely under a peel edge or cutter, but it should be set deliberately and documented.
Next, open the label template in the application. Verify that the template matches the installed roll, including orientation and margins. A template built for a 4-inch printer can behave poorly when sent to a narrower unit, even if the image appears correct on screen. Barcode fields also need enough quiet space around them; moving a barcode tight against the edge to compensate for an offset can make it difficult for scanners to read.
If the issue started after a driver update, software change or computer replacement, check that the selected printer driver and paper size are correct. Generic drivers can print basic text but may not pass media settings, print speed or calibration commands correctly.
Run a printer self-test
A printer self-test removes the POS or computer from the equation. The exact method differs by model, but most printers can print a configuration label or test pattern using the feed button and power switch.
If the self-test is centred and stops correctly on every label, the printer hardware and media detection are likely working. Focus on the software template, driver, network print queue or the application sending the job. If the self-test is also misaligned, continue with calibration and physical inspection.
Keep one correctly printed test label with notes about the model, label stock and settings. It can save considerable time when staff need to reload media during a busy service period.
Reload the roll and inspect the media path
Turn the printer off before cleaning or working around the printhead. Remove the label roll and look through the media path for loose backing paper, dust, adhesive residue or a displaced sensor. In food service and retail environments, airborne dust, packaging fragments and adhesive can build up faster than expected.
Reload the roll so it sits squarely on the holder and feeds directly under the guides. The guides should touch the edges of the liner without pinching it. If they are too loose, the roll can walk sideways as it feeds. If they are too tight, friction can pull the media off line or cause inconsistent movement.
Clean the sensor area and printhead using an approved cleaning method for the printer. Do not scrape the printhead or use household cleaning products. A contaminated sensor may read the backing paper as a label edge, particularly with small gaps, clear labels or glossy liners.
Check the platen roller as well. A worn, dirty or uneven roller can contribute to skewing because it no longer grips the liner evenly. If the labels consistently pull to one side after careful loading, the roller, guides or media holder may need professional attention.
Calibrate only after the correct media is loaded
Calibration teaches the printer where one label ends and the next begins. It should be performed after loading the actual stock you intend to use, with the correct sensor mode selected. Calibrating on an empty liner, old stock or a different label format gives the printer the wrong reference point.
Most printers offer an automatic calibration function through the control panel, utility software or a feed-button sequence. Allow the printer to advance several labels, then print a test. Watch where it stops as well as where it prints. Correct image position is not useful if labels are feeding inconsistently or wasting a label each cycle.
Some applications automatically send label dimensions with each print job. In those setups, the application can overwrite settings changed at the printer. If calibration seems successful until the next job is sent, inspect the software configuration rather than repeating the calibration.
Know when the fault needs service support
A persistent fault after correct loading, cleaning, configuration and calibration may indicate a failing sensor, worn platen roller, damaged printhead mechanism or an issue with the printer’s drive system. These faults are more likely where the printer runs long production batches, has experienced a label jam, or has been moved between locations frequently.
Do not keep forcing media through a printer that is jamming or feeding at an angle. That can damage the printhead, tear the liner and turn a repairable issue into extended downtime. For businesses across Southeast Queensland, EBE can assess label printer faults, confirm the right media and settings, and help return critical printing equipment to reliable operation.
Before calling for support, note the printer model, label dimensions, sensor type, software in use and whether the fault occurs on a self-test. A photo of several consecutive labels is particularly useful because it shows whether the problem is a fixed offset, gradual drift or inconsistent feeding.
Accurate label printing depends on small details working together: the right stock, correct settings, clean sensors and a properly maintained media path. Taking ten minutes to identify the fault pattern can prevent wasted rolls, delayed orders and avoidable frustration during the busiest part of the day.















Leave A Comment
You must be logged in to post a comment.