
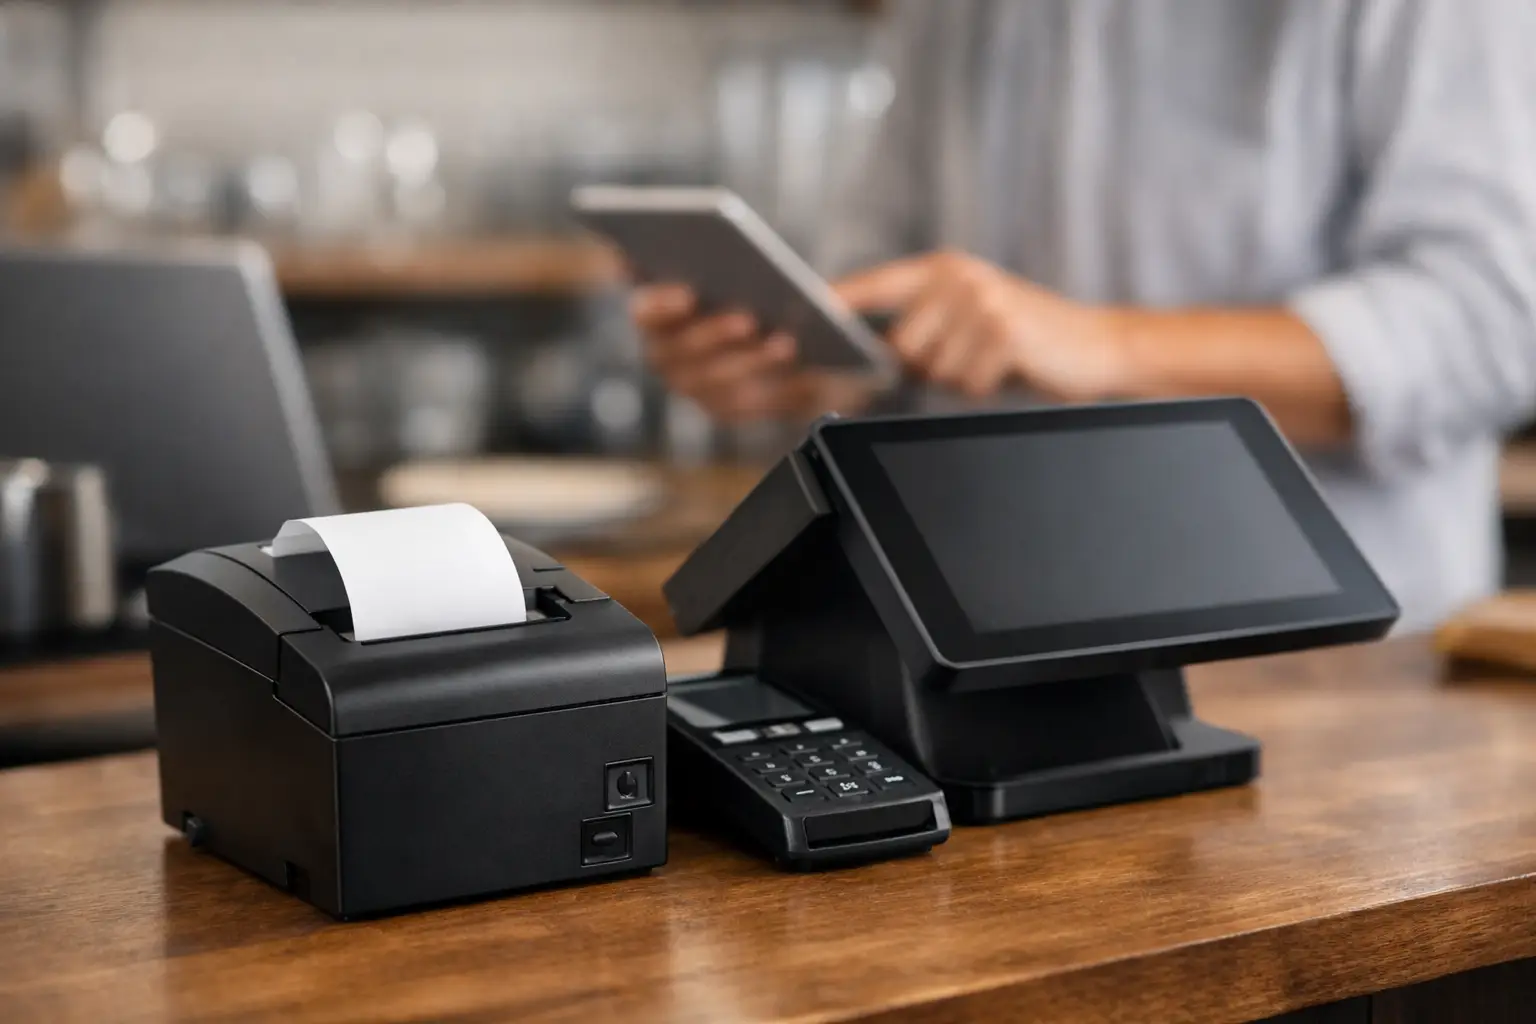
A receipt printer tends to be noticed only when it stops working – usually with a queue at the counter and a staff member trying to find a spare roll. Knowing how to set up receipt printers correctly from the start helps avoid those interruptions. The right setup is not just about getting paper out of the machine. It is about choosing a printer that suits your POS, connecting it reliably, setting the correct receipt format, and making sure your team can deal with the everyday basics.
For a busy café, retail shop or takeaway venue, a receipt printer is part of the transaction process. It may print customer receipts, kitchen dockets, online order tickets, refunds and end-of-day reports. A small setup detail – such as assigning the wrong printer in the POS or placing a network printer on an unstable connection – can quickly become an operational problem.
Start with the job the printer needs to do
Before connecting anything, work out where and how the printer will be used. A front-counter receipt printer has different requirements from a kitchen docket printer. At the counter, speed, compact size and a clean receipt layout are usually the priorities. In a kitchen or food preparation area, the printer may need protection from heat, grease and splashes, with clear docket formatting that staff can read at a glance.
Thermal printers are the standard choice for most POS environments. They are fast, quiet and do not use ink cartridges. They do rely on thermal paper, however, and printed receipts can fade when exposed to heat, sunlight or certain chemicals. If receipts need to be kept for long periods, consider whether your POS can email receipts or whether a more permanent print method is needed for that task.
Also check compatibility before purchasing. Your POS software may support particular printer brands, connection methods or drivers. A printer can be technically capable of printing, yet still cause problems if the POS cannot send the correct commands for receipts, dockets, logos or cash drawer control.
Choose the right connection method
The connection method affects both installation and day-to-day reliability. There is no single best option. It depends on the size of the site, the POS hardware in use and where the printer sits.
USB for a single fixed terminal
USB is often the simplest option when one printer sits beside one POS terminal. It is affordable, direct and straightforward to troubleshoot because the cable path is short. The limitation is that the printer is generally tied to that device. If the terminal is moved, replaced or used with another computer, the connection and printer settings may need to be configured again.
Use a quality USB cable and avoid running it where staff can pull it loose or damage it while cleaning under the counter. If the cable must travel a long distance, a network connection is usually the better choice.
Ethernet for shared or business-critical printing
Ethernet is well suited to printers shared by several terminals, such as a kitchen printer receiving orders from front counter and tablet POS devices. It connects to your network via a cable and can be given a fixed IP address. That makes it easier for the POS to consistently find the printer.
Wired network connections are generally more dependable than Wi-Fi in busy venues. Wireless networks can be affected by building materials, customer devices, access point coverage and network changes. If a kitchen docket printer is essential during peak service, wiring it to the network is normally the safer decision.
Wi-Fi or Bluetooth for flexible locations
Wi-Fi and Bluetooth can work well for mobile operators, pop-up locations and sites where cabling is impractical. They do need more care. Check signal strength where the printer will actually sit, not just near the modem. Keep the printer on the correct network, use a strong password and confirm that the POS device reconnects after a power outage.
Bluetooth is usually best for a nearby tablet or mobile device. It is not designed to replace a properly planned network where multiple devices need to print to the same destination.
How to set up receipt printers step by step
Once the printer, POS and connection method are confirmed, install the equipment in a logical order. Rushing straight into the POS settings often leads to confusion about whether the issue is power, network access, drivers or software configuration.
First, place the printer on a level, stable surface with enough clearance to open the lid and change paper rolls. Keep it away from steam, direct heat and areas likely to collect spills. Connect the supplied power adaptor directly to a suitable power outlet or quality surge-protected board. Using an incorrect adaptor can damage the printer.
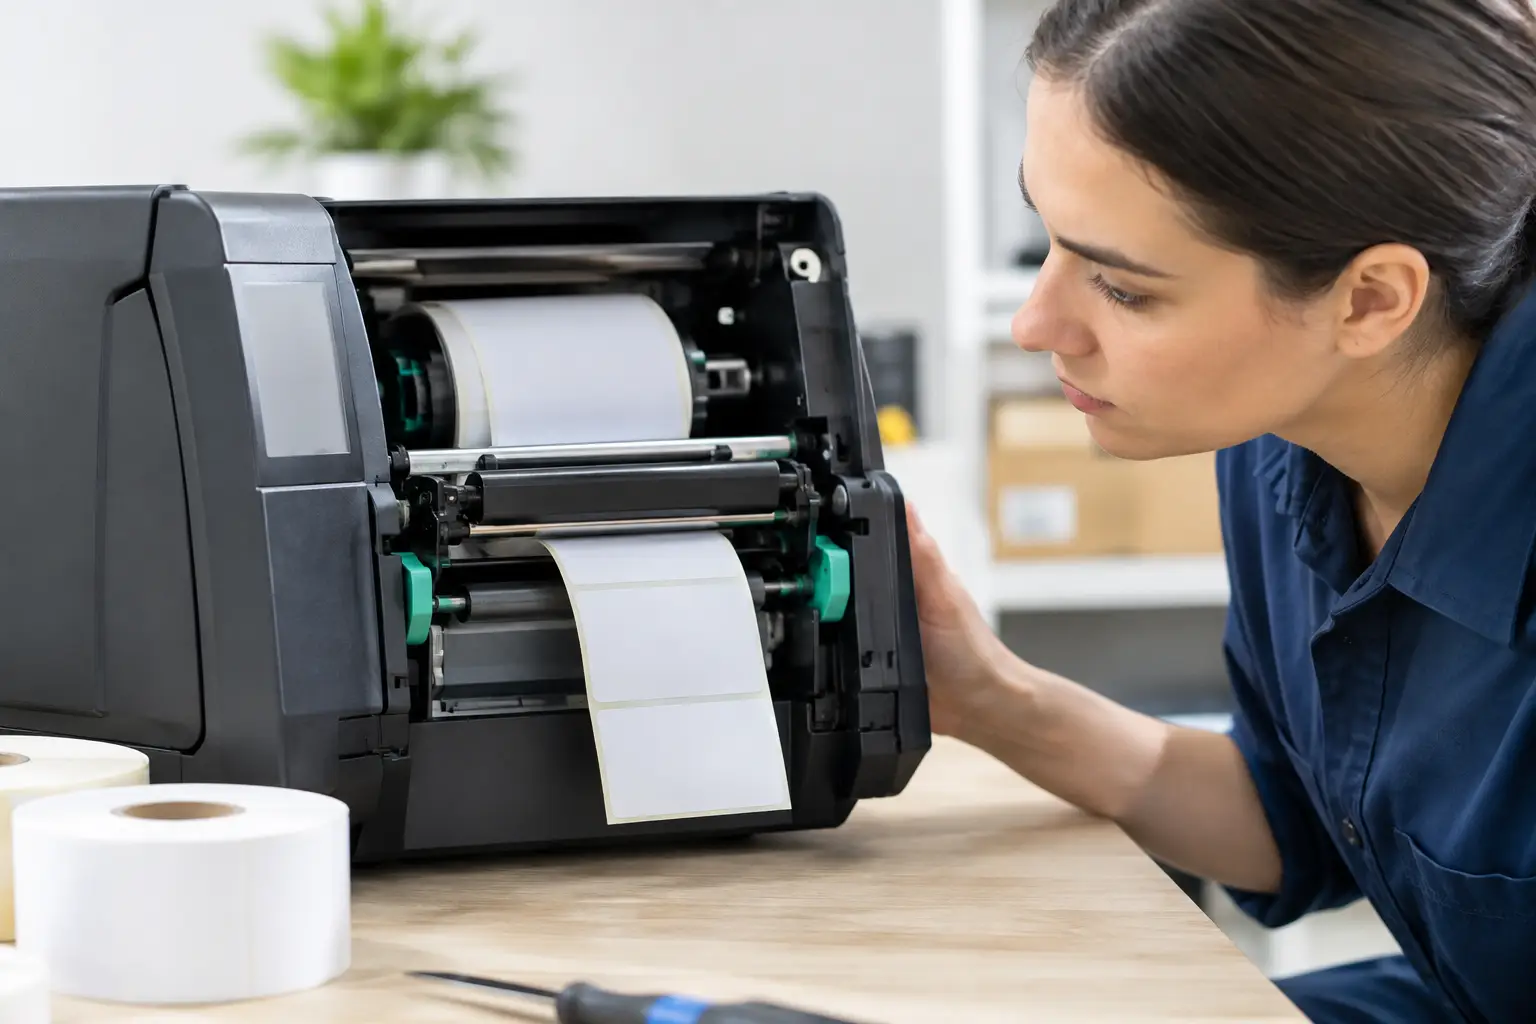
Load the thermal paper roll in the direction shown inside the printer cover. The printable side must face the thermal print head. A quick test is to scratch the paper with a fingernail – the heat-sensitive side will darken. Close the cover firmly, feed a short length of paper through, then turn the printer on.
Next, connect the printer by USB, Ethernet, Wi-Fi or Bluetooth. For an Ethernet printer, print or access the network status information and identify its IP address. Where possible, ask your IT provider or POS technician to reserve or assign a static IP address. If the address changes later, the POS may stop sending receipts to the printer even though the network is otherwise working.
Install the manufacturer driver or POS-supported driver on the relevant computer or terminal. Some cloud-based POS systems use a print utility or local connector rather than a conventional driver. Follow the POS provider’s recommended process rather than assuming a standard Windows or Mac setup will be enough.
In the POS back office, add the printer and give it a clear name based on its location and purpose, such as Front Counter Receipt or Kitchen Pass. Avoid vague names such as Printer 1. Then assign the printer to the right functions. A customer receipt should not accidentally print in the kitchen, and online orders should route to the station that prepares them.
Set the paper width to match the hardware, commonly 80 mm or 58 mm. Confirm the receipt template includes the information your business needs: business name, ABN where applicable, date and time, items, GST, payment method and any return or exchange details. If you use a logo, test that it prints clearly without slowing receipt output or creating unnecessary paper waste.
Connect and test the cash drawer separately
If the printer controls a cash drawer, plug the drawer cable into the dedicated cash drawer port on the printer, not an Ethernet or phone port. The plugs can look similar, so check the printer manual and port labels carefully.
Within the POS, set the drawer to open only for the payment types that require it. You may not want the drawer to open for every account sale, online order or card-only transaction. Test it with a small sale, a refund if your workflow allows it, and a no-sale drawer opening if staff need that function.
The drawer should open cleanly and lock when closed. If it does not, the issue may be the cable, drawer kick setting, printer configuration or the drawer itself. Do not force the mechanism, particularly during a busy shift.
Test real transactions before going live
A successful test page does not prove the full system is ready. Run the same transactions your staff will handle during a normal day. Process a card sale, cash sale, refund, reprint and end-of-day report. If you run hospitality or food service operations, send orders to every kitchen or bar printer and confirm that modifiers, notes and course timing appear correctly.
Check readability from a normal working distance. Docket text that is technically printed but too small, poorly cut or missing order notes will still slow service. Review the auto-cut setting as well. Full cuts are tidy but can create loose slips; partial cuts keep consecutive dockets together, which may suit some kitchens better.
Power-cycle the printer and POS terminal after testing. This confirms that the connection returns properly after a restart. For network printers, also test what happens if the internet drops. Local printing may continue on a properly configured local network, while cloud POS systems may have limits depending on their offline mode.
Build simple checks into daily operations
Most printer problems are easier to prevent than fix. Keep the correct paper rolls on hand and store them somewhere dry, away from heat. Cleaning the print head periodically with an appropriate cleaning product helps prevent faint print and paper dust build-up. Switch the printer off and let it cool first.
Train staff on three basics: loading a roll correctly, checking the printer’s power and error lights, and knowing which printer should receive each type of order. Give them a simple escalation process for faults. Rebooting equipment can help, but repeatedly restarting a printer without checking paper, cables, lids and network status can waste valuable time.
For businesses across Southeast Queensland, EBE can configure receipt printers as part of a complete POS installation and provide local support when hardware needs attention. That is especially useful when a printer is connected to multiple terminals, kitchen workflows, cash drawers or existing network equipment.
A receipt printer should become a quiet, dependable part of service – not another job for the person at the counter. Set it up for the way your team actually trades, test it under realistic conditions, and keep support close by for the occasions when the queue cannot wait.



Leave A Comment
You must be logged in to post a comment.